Send email-only notification using Message Review
Step 1: Access the Application
Sign into Connect Rocket. From the dashboard select Send an email-only notification.

Step 2: Select Recipients
Select the group or groups you wish to email by checking the box beside each group name. Selected groups will appear as tags in the search field. Once finished, click Next.
Tip: If you need help determining who should receive your email, click View Map in the top-right corner to see recipient locations. You can also click the down arrow next to any group name (when available) to view descriptive details.

Step 3: Compose Your Email
Enter the email content you want to deliver to your recipients. You have two options:
- Prepared Messages: Select a pre-approved message from the dropdown (if available on your account).
- Custom Message: Compose a new email from scratch.
Message Review
When finished drafting, click Review Message to evaluate your content against emergency communications best practices. The system will analyze your email and, if needed, suggest improved text that resolves any issues detected (such as unclear language or missing critical details).
- To accept the suggested text, click Use this text; the content will automatically replace your current draft. To keep your original text, click Next to continue.
File Attachments: You may attach files in any format (videos, PDFs, images, etc.). Connect Rocket will host the file and append a shortened URL to your email, allowing recipients to download the content securely.
If you're unsatisfied with the suggested email provided to you by Message Review, you can submit a report to the development team. All reports are reviewed and changes will be made to the model where suitable. Click Report an Issue to get started.

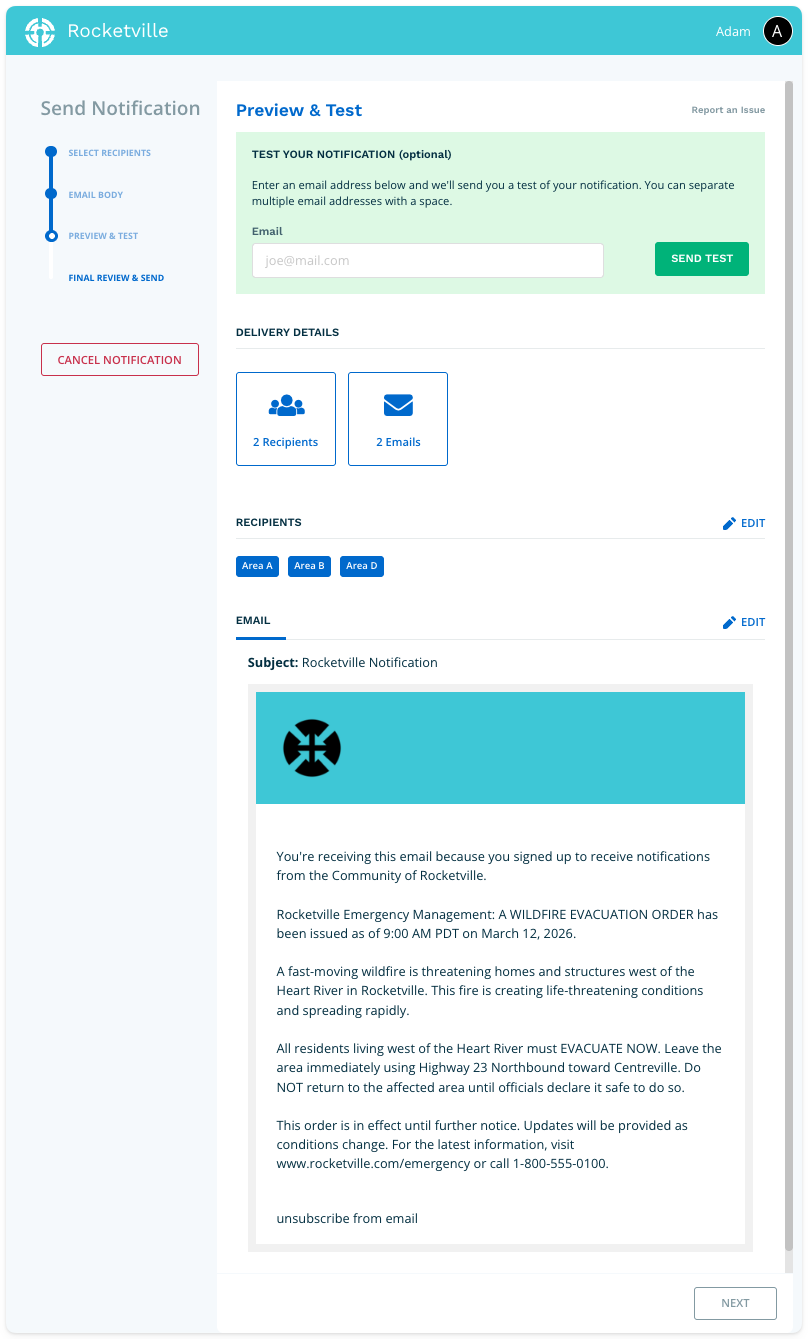
Step 4: Test Your Notification
Verify that your delivery details are correct and review your email content.
To test, enter an email address in the field within the green test block at the top of the page, then click Send Test. The system will deliver a test email to that address.
If you need to make changes, click the Edit links on the right side of the page. When satisfied with your testing, click Next.
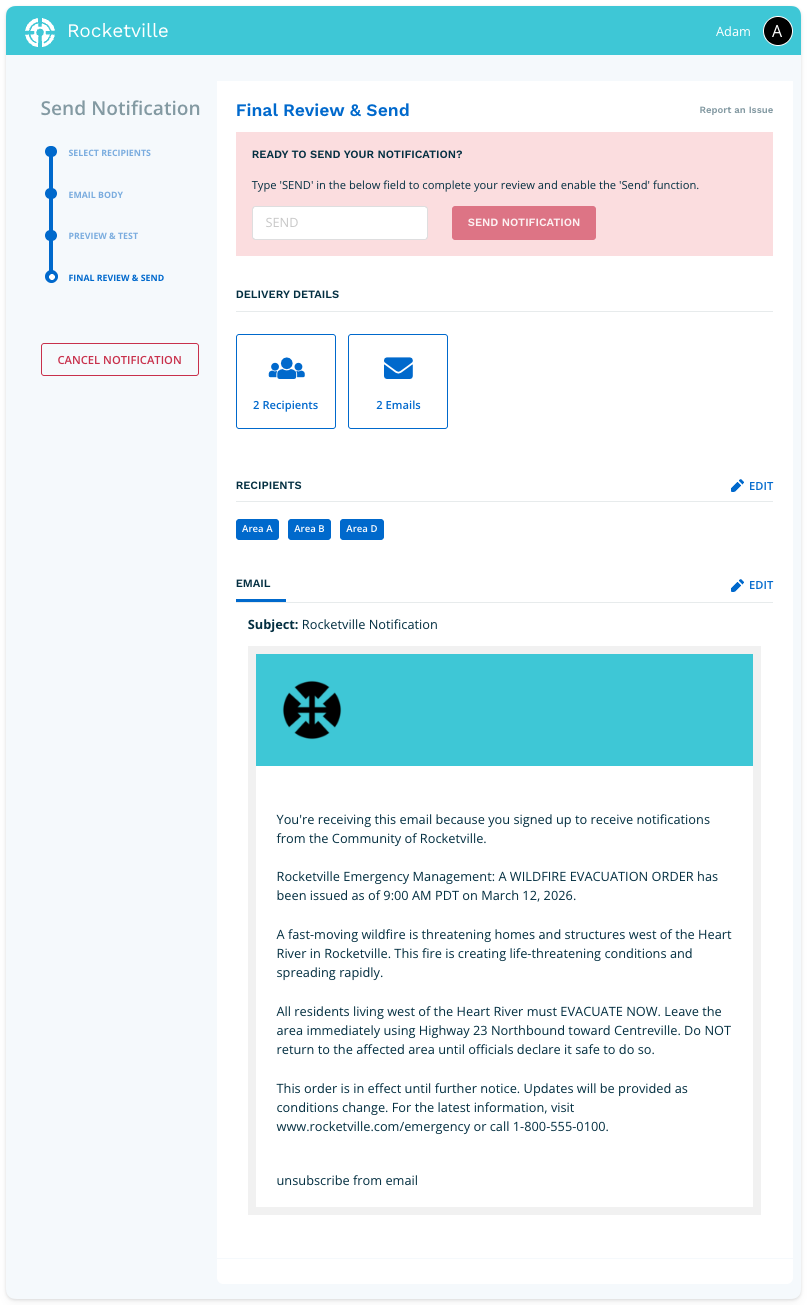
Step 5: Final Review and Send
The Final Review page provides one last opportunity to verify your email. When everything is correct, type SEND in the confirmation field to enable the send function. Click Send Notification to deliver your email to all selected recipients.