
Add a user
Add a user to your account by sending them an email invitation. Only an account Administrator can manage users in an account.
Step 1
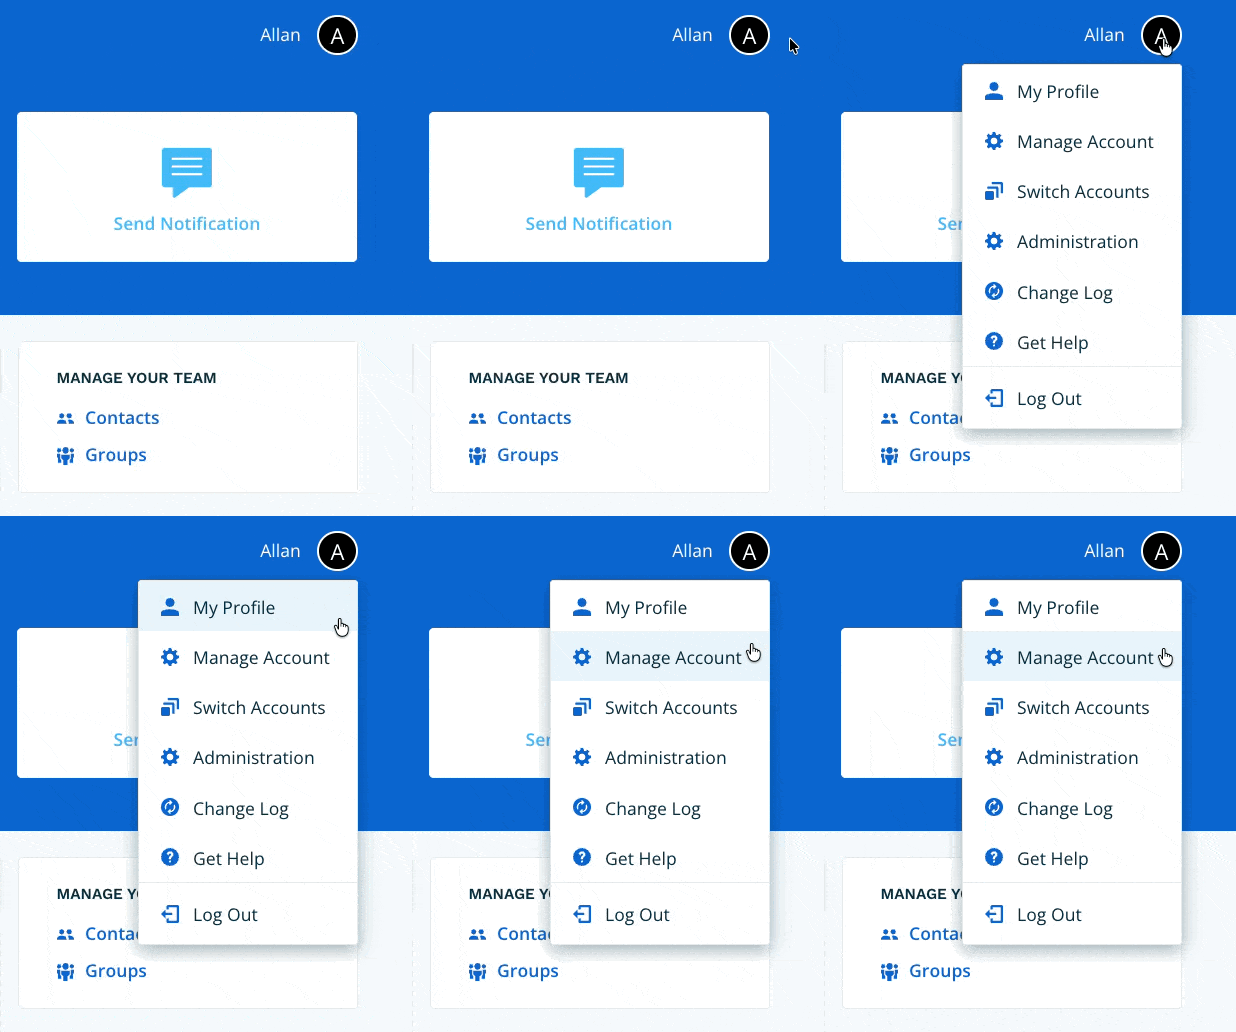
Go to Manage Account from the profile menu.
Step 2
Select Users from the page navigation.

Step 3
Select Add A User.

Step 4
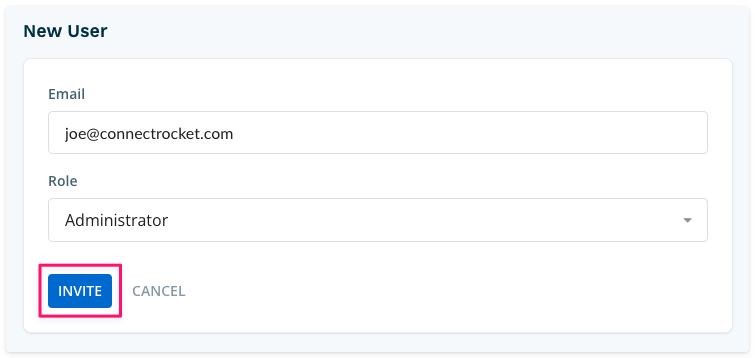
Enter the user’s email address and choose a role. To see what each role can do, go to User roles. Select Invite. Connect Rocket sends the user an email with instructions for finishing their account setup. During setup, the user chooses their contact from a menu. A user’s contact is their own entry in your Contacts.
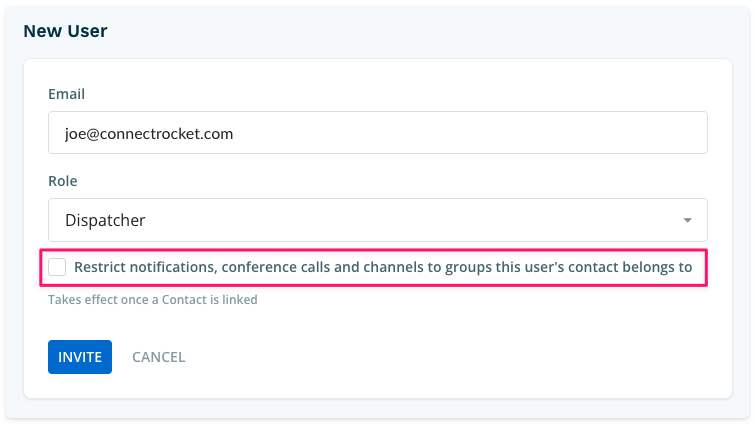
If you choose any of the Dispatcher roles, you can limit what that user can do. Select the Restrict notifications, conference calls and channels to groups this user’s contact belongs to checkbox. The user can then only send notifications to, and start conference calls with, groups that their contact belongs to. They can also only see channels for those groups. The restriction takes effect once the user has chosen their contact. The checkbox is cleared by default.
If a user doesn’t accept the invitation, select the pencil icon next to the user in the list, then select Resend Invitation.
