Configuring Prompts
Administrator access is required to configure Agents.
Step 1
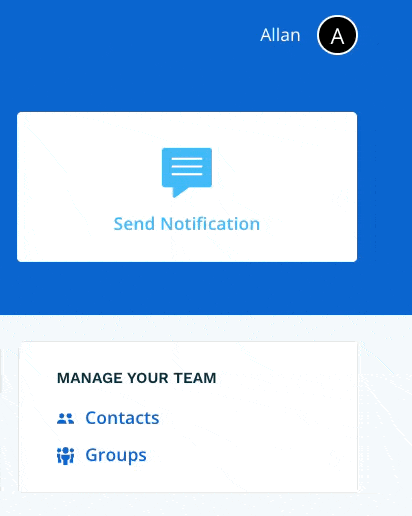
Navigate to Manage Account via the profile menu.
Step 2
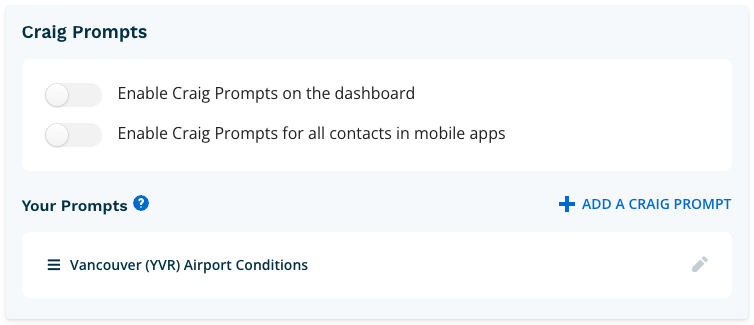
Select Prompts from the left-hand navigation.

Step 3
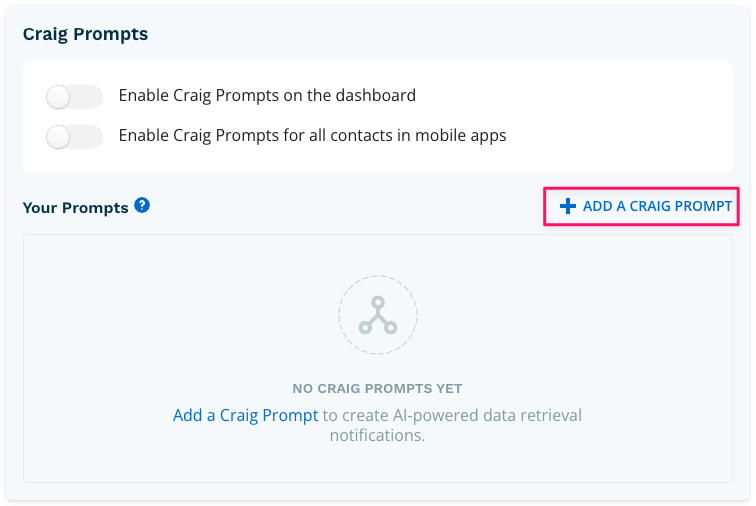
Select + Add a Craig Prompt. You can create as many prompts as your organization needs.
Step 4 - Configuring your Prompt
Complete the following fields:
- Prompt Name — Give your Prompt a clear, descriptive name so it's easy to identify.
- What to Fetch — Describe what you want Craig to retrieve. You can make a single request or a series of connected requests.
- Formatting Instructions (optional) — If you need the output delivered in a specific layout or style, enter those instructions here.
- Cache Duration — Set how long (in minutes) Craig should hold the retrieved data before refreshing it.
- Use caching for data that changes slowly — for example, tide charts.
- Do not use caching for rapidly changing data — for example, tornado or tsunami alerts.
- Status — Prompts are active by default. Use the toggle to disable a Prompt without deleting it.
When you're done, select Save & Verify.
Tip: For best results, reference the exact field names the tool returns in your What to Fetch and Formatting Instructions fields. Referencing specific field names rather than describing what you want in general terms gives Craig greater precision and produces more consistent results. You can find the fields available for each tool by expanding it in the Tools index.

For guidance on getting the best results from your prompts, see Common AI mistakes to avoid in Craig Prompts.
Step 5 - Testing and Refining
Craig will run your prompt and display the results. On this screen you can:
- Review the output of your prompt, including any formatting you specified.
- Report an issue if Craig isn't returning the results you expect.
- Select View Execution Trace to inspect how Craig processed your prompt in detail.
If the output isn't quite right, edit your prompt and select Save & Verify again. Repeat until the results meet your expectations.
When you're satisfied, select Done.

Your prompt is now available to run from the Dashboard and to include in Workflows.